Showing posts with label Illustrator. Show all posts
How to create repeating pattern in Adobe Illustrator CS6
Abode Illustrator
,
how to
,
how to make repeating pattern
,
Illustrator
,
pattern
,
pattern design
,
seamless patter
,
Tutorials
Pattern designs are awesome. They make the perfect background for any design project. However, the process can be really intimidating. No not with Adobe Illustrator. let's see How to create a seamless pattern in Adobe Illustrator.
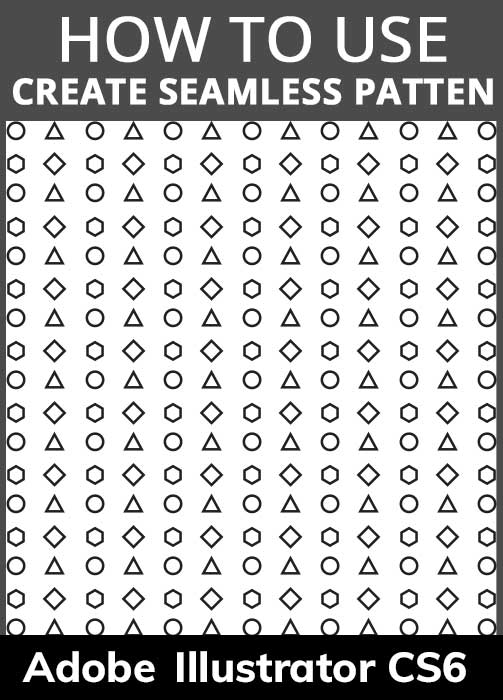


In this tutorial you will learn
- How to make pattern in Illustrator
- How to make a pattern swatch in illustrator
Let's get started and see how to create repeating pattern in adobe illustrator cs6 step by step,
1) Create the pattern that you want. For example, I created this.

2) Select all and drag it into the swatches panel. This will create a new swatch. You can now apply it to any shape or fill. I created this square and applied the new swatch as fill.


3) Now double click on the swatch that you just created. It will open the pattern in the artboard. Here now we will adjust the pattern.

a) First I will adjust and reposition the shapes as I like. Then in the patterns options, I have adjusted the width and height. For me, the width is 96 and the height is 76. Width adjusts the spacing between the pattern block horizontally and height vertically.

b) You have your pattern ready. Now you can have variations of it by changing how the pattern tiles. So by changing the tile type to brick by row you get a different pattern. Here the pattern tiles by row.

c) Then changing the tile type to brick by column you get a different pattern. Here the pattern tiles by column.
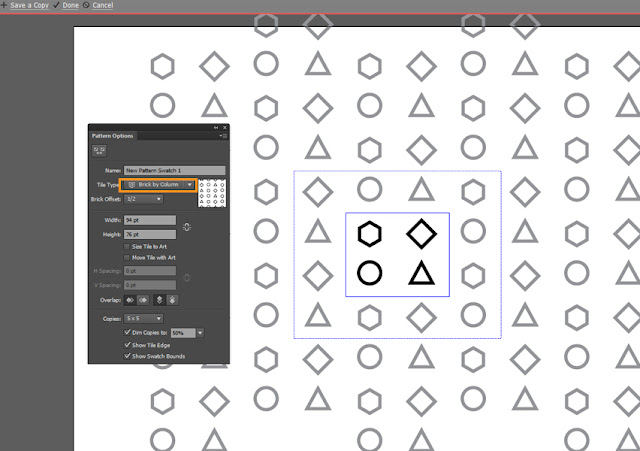


You have a repeating pattern as simple as that. Just in 2-3 steps, your seamless repeating pattern is ready. Creating a seamless pattern requires RND. you have to use the tile option in the pattern options to get the perfect pattern. So just play around with the setting and you will eventually get the perfect pattern.
Affiliate Disclaimer: This post contains affiliate links and I will be compensated if you make a purchase after clicking on my links. As an Amazon Associate and Envato elements associate, and creative market I earn from qualifying purchases. This will not cost you a single penny extra. Thanks for the understanding and for rewarding me for my hard work.

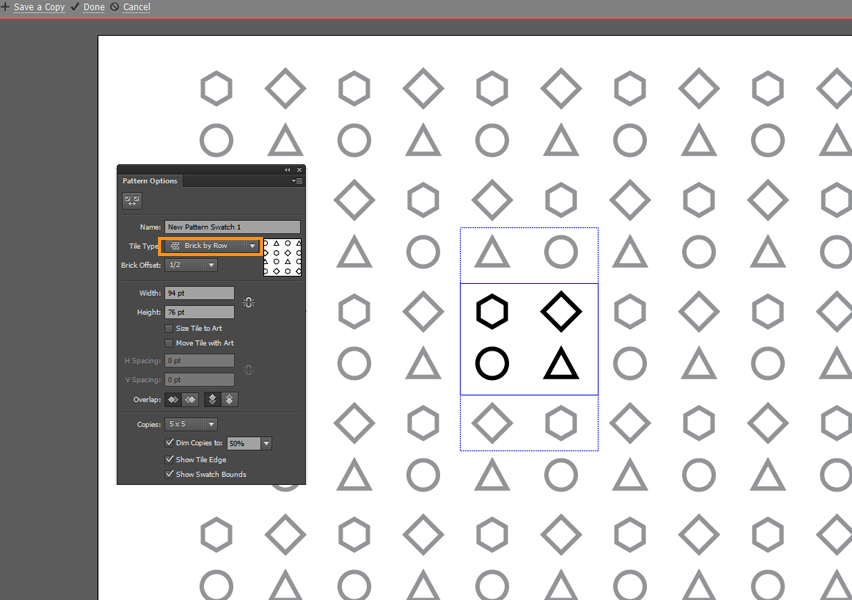

d) Adjust the width and height when you are happy with the pattern click on Done at the top of the window.

However, if you need readymade patterns do check out Envato and CreativeMarket as they have a huge collection that will fit your every design need.
Powered by Creative Market
Affiliate Disclaimer: This post contains affiliate links and I will be compensated if you make a purchase after clicking on my links. As an Amazon Associate and Envato elements associate, and creative market I earn from qualifying purchases. This will not cost you a single penny extra. Thanks for the understanding and for rewarding me for my hard work.
Practice and play around with these patterns and 1 day you will be able to create awesome art with it in a professional manner and become a Really Creative Graphic Designer.
Let’s have some fun with shape builder tool Illustrator cs6
Today I am going to go through shape builder tool in Illustrator CS6.
This is one of the fantastic tool that Adobe Illustrator cs6 has. This is actually quite
similar to Pathfinder tools that it had but an advanced version of the same.

So let’s see how to use the shape builder tool in illustrator,
1) Open a new document and select ellipse tool and draw 2 ellipse
as shown below

2) Grab the Shape builder tool from the tools bar ( or Illustrator shape builder tool shortcut is CLT + M ). Click and drag
from top of the first small circle to the big circle.

That's how you combine shape with the tool. Now let’s see how to
subtract shape.
1) Grab the ellipse tool and make 2 ellipse as shown below.

2) Grab the Shape builder tool and hold down ALT while you drag it
from outside of the top ellipse till the intersection of 2 ellipse as shown
below.

So this is how you can subtract one shape from other.
OK now let’s make a fun project.
1) Grab the Ellipse tool set fill of a color and no stroke. Select
the rotate tool from the tool bar and alt Click exactly below the circle.


4) Keep alt clicking and deleting the areas shown in red.


5) Now alt click the area inside the flower shown below.
 6) Again keep alt clicking and deleting the area sown in red.


Final image is ready. This was just one way. You can create
innumerable styles with it. Here are 2 more versions I created with this exact same process.

Just use your imagination and if you create
something interesting don't forget to share it with me.
Shape Builder tool is a wonderful tool that can create wonders, so go ahead and fun with it .
Keep practicing and you will become a Really Creative Graphic Designer.
Subscribe to:
Posts
(
Atom
)